It’s been 19 weeks since my last ToDoTuesday post*.
Here’s my first in 2020!
~~~
On-going goals since October 15th, 2019:
- Work on Michelle’s lime green African Fabric wall hanging in progress
- Sew up scraps have on hand in progress
- Practice free motion quilting in progress
~~~
How to use my growing stash of glorious authentic African fabrics without compromising the scale of design? That question is always the number one concern whenever I pull out those lengths of fabrics for consideration of use in a ‘special’ quilt project. Stumped for a satisfactory solution, I usually end up draping them over armchairs, the couch and the living room floor admiring their textures, rich colorations, and design elements. Soaking in their exotic vibes, breathing in their subtle, yet specific cloth scents – all feeding my imagination, yet still coming up short on a way through my dilemma.
And then, Along Comes Mary** …from Zippy Quilts! A few months ago, she posted a quilt design that seemed to answer that question. For one set of fabrics at least.

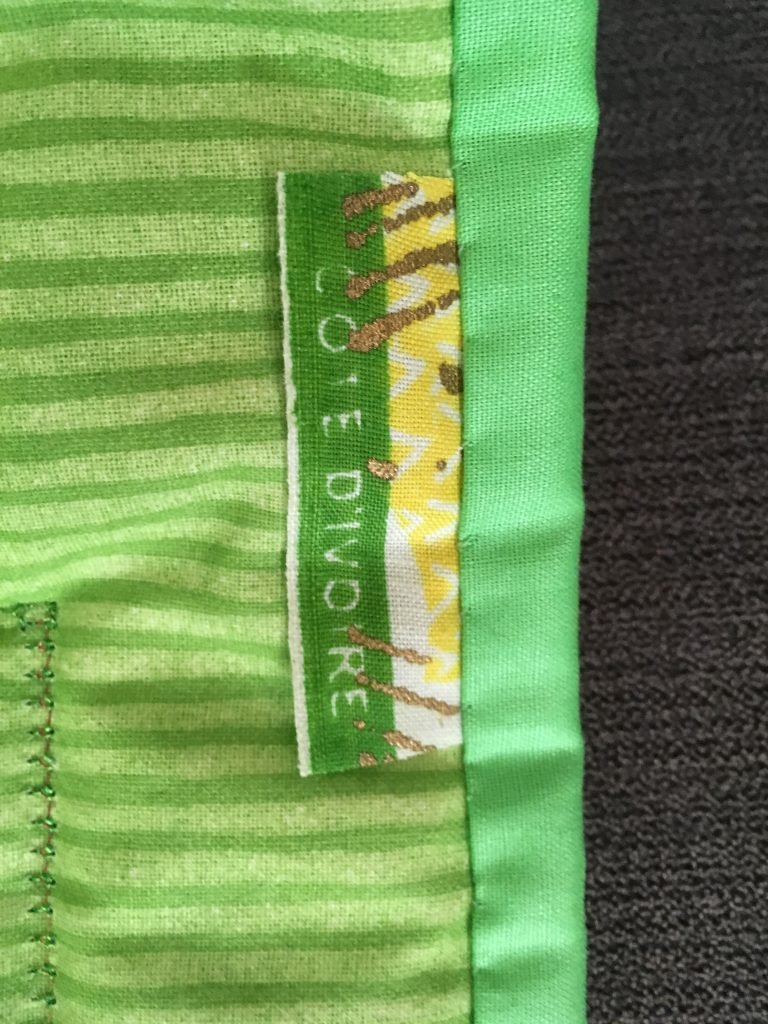
Cote d’Ivoire/Woodin fabric selvages
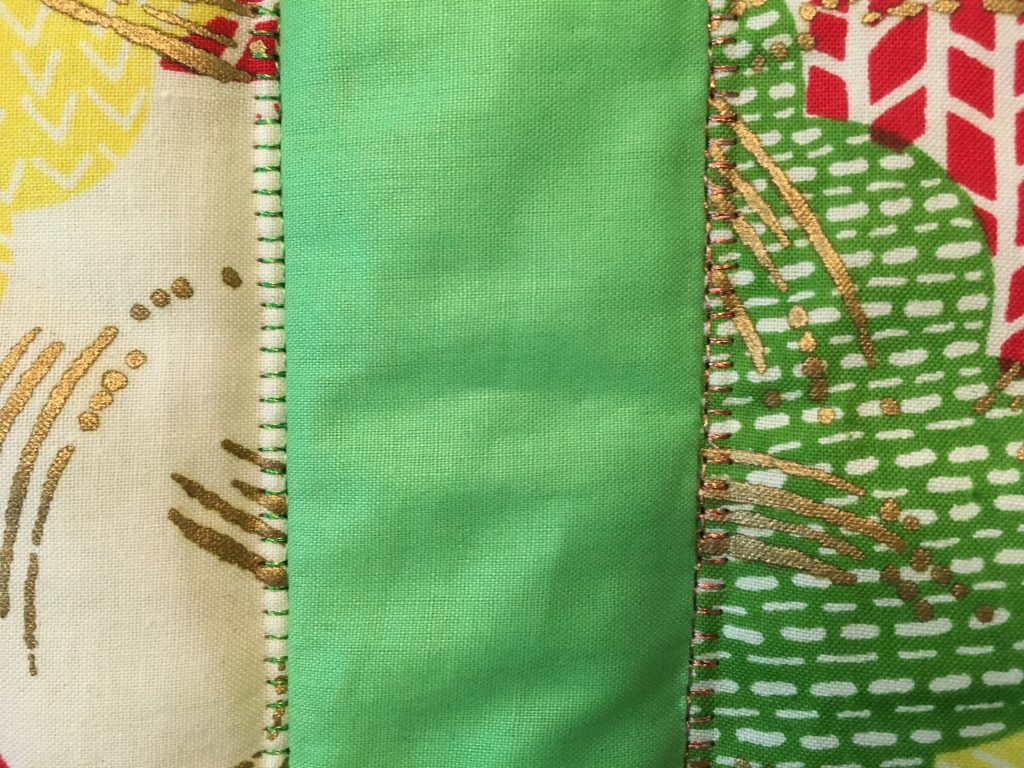
The latest yardage given to me by our middle daughter acquired during her last PhD trip to Cote d’Ivoire included a deliciously vibrant patterned
Woodin material paired with a complimentary solid lime green waxy-shiny chintz fabric. The solid fabric is not African, but commonly added as a free component in the sale. Interestingly, this is because all dresses are sewn with linings. Michelle told the vendor she wasn’t going to have the material made into a dress, but he insisted it was part of the deal, regardless.

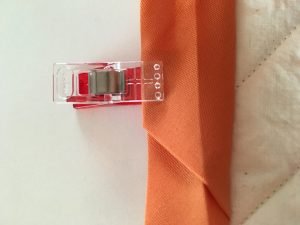
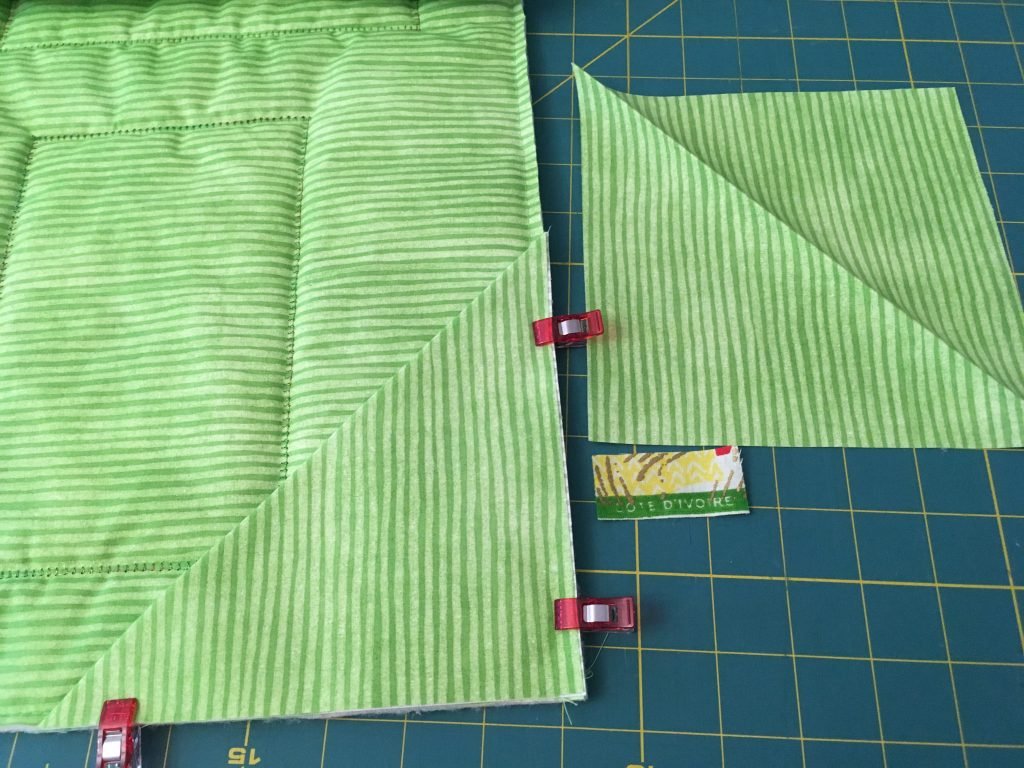
Floating Block Lattice wall-hanging top
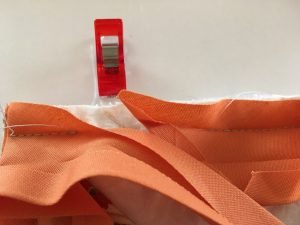
Using the two together, this is the completed wall-hanging top. At this stage I can safely roll it up and pack it away to be finished at a later date. Meanwhile, I have a roadmap figured out for the next steps needed to finish this project:
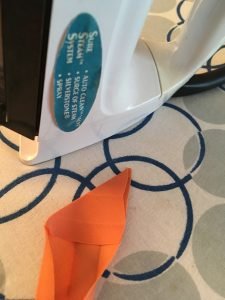
- I’ll be using the 80/20 batting to help stabilize the two fabrics under the needle when I do the machine quilting (the lime green chintz is thinner than the more densely woven African fabric)
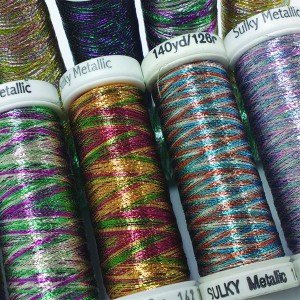
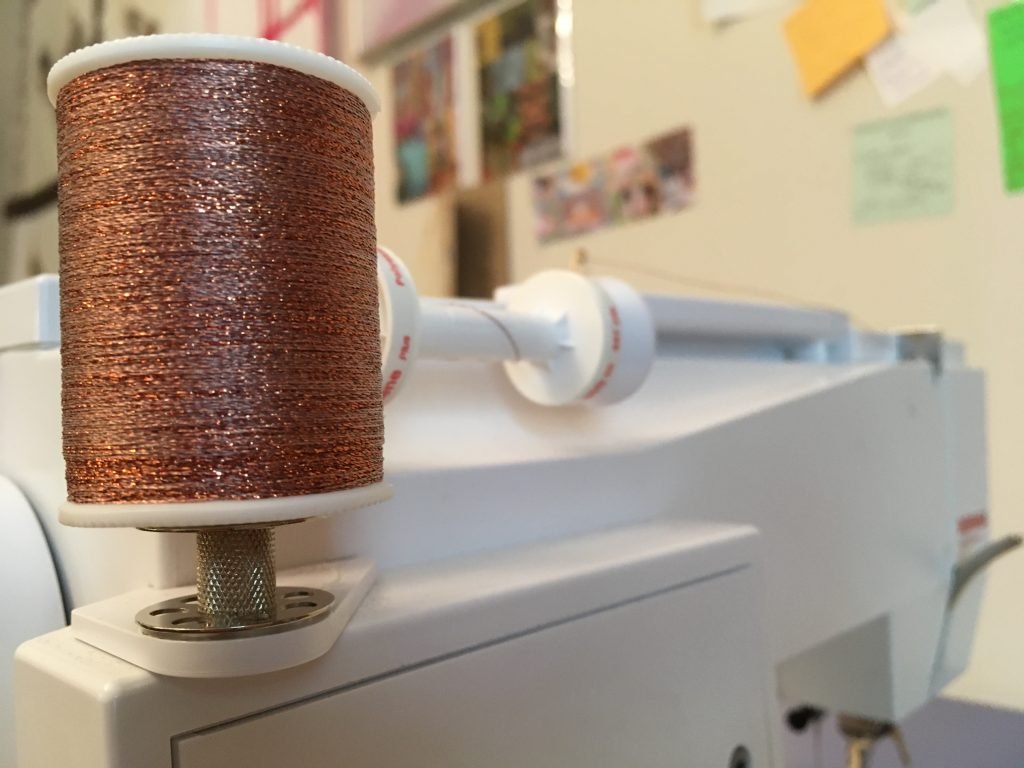
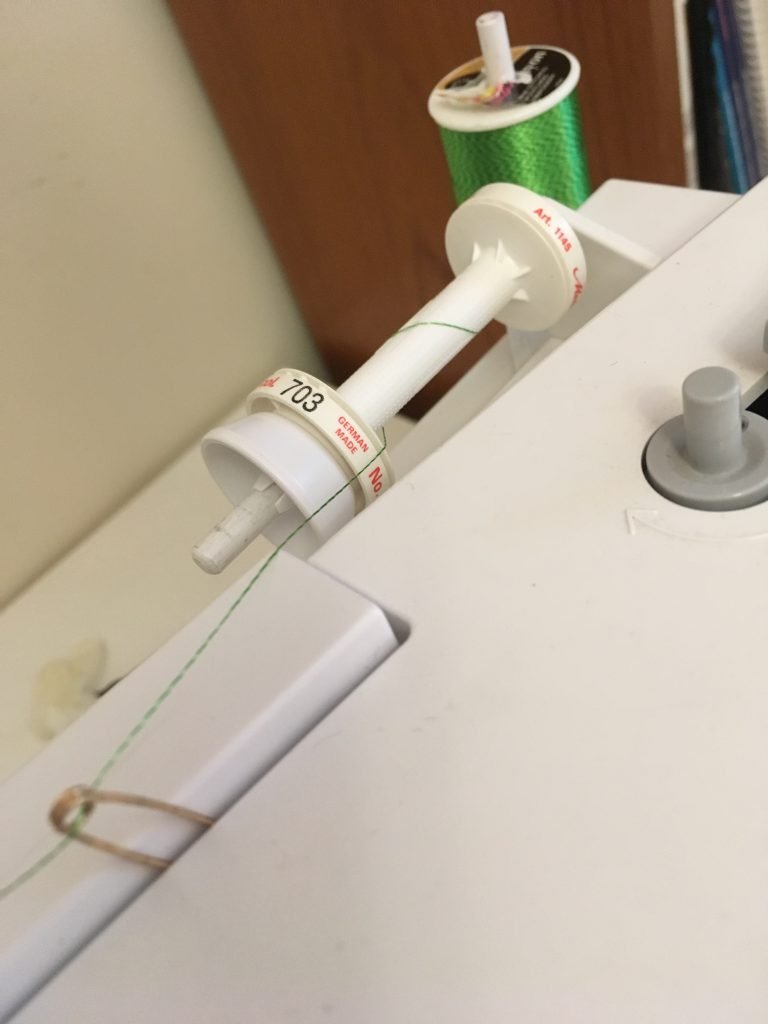
- Quilting pattern inspired by the gold streaks in the African fabric – as an all over design on lime green fabric with lime green thread and gold metallic thread as accents on some of the gold streaks on the African fabric
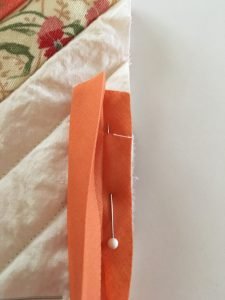
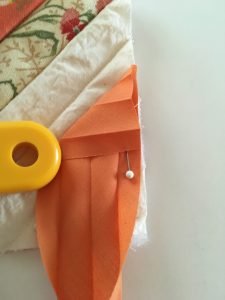
- Binding is still up for grabs as is an actual backing fabric

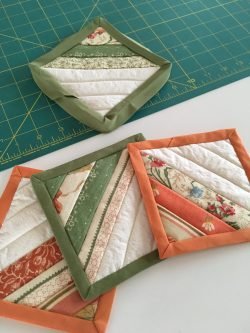
Scrappy sewing is my favorite type of piecing!
As most of you know, I am a scrap-lover and enjoy sewing up the bits & odd shapes leftover from on-going projects on a regular basis. Heck, I even pull out old scraps from my scrap stash to fiddle with as a tension reliever! In this instance, I decided to use only the scraps generated from these two fabrics in the construction of the wall-hanging top.
I think they look quite artistic for such minimal effort on my part – yet with great therapeutic payback in the doing of it!
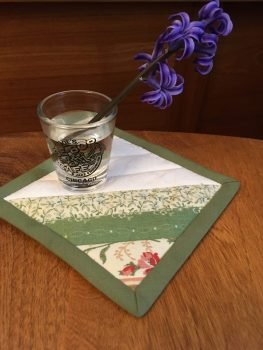
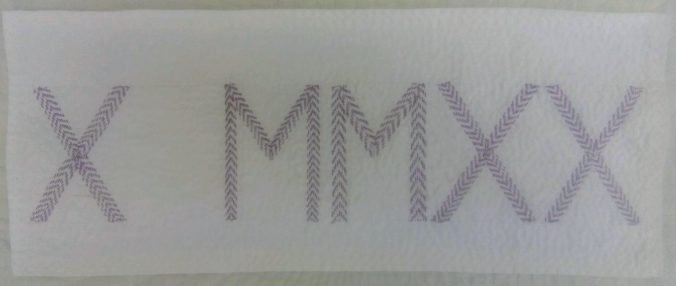
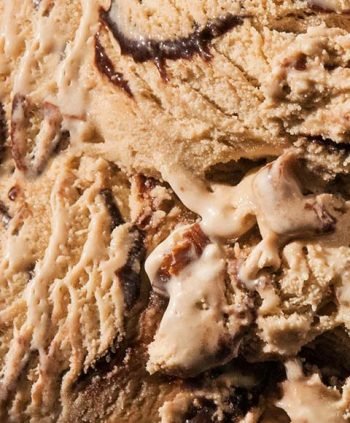
Speaking of therapy, on a whim, I picked up one of my made-from-scraps quilt sandwich samples to practice my free-motion quilting skills. This has been a frustrating technique for me to feel comfortable with, but it calls to me often to keep at it!
Well, to my surprise and delight, this impromptu session yielded a break through! My hand direction/foot pedal co-ordination/stitching speed miraculously fell into sync where the whirls of design took on a life of its own…what a thrill!
That’s it for now!
~~~
ToDo for the weeks following February 25th:
Thank you Roseanne for this opportunity to share and reflect
And thank you Zippy for showing off my completed top on your blog
*Geesh, almost sounds like a confession…Bless me Father for I have sinned. It’s been X weeks since my last confession…Just sayin’.
**This link leads to the YouTube of the song (give it a listen, it’s only about 2 minutes long) – which Zippy will no doubt recall listening to back in the day 🙂